Chapter Seven — Craft
Brewing Coffee at Altitude
At 6,000 feet water boils near 199°F and extraction slows. A practical guide to grind, dose, temperature and time for espresso, filter and immersion brewing at elevation.
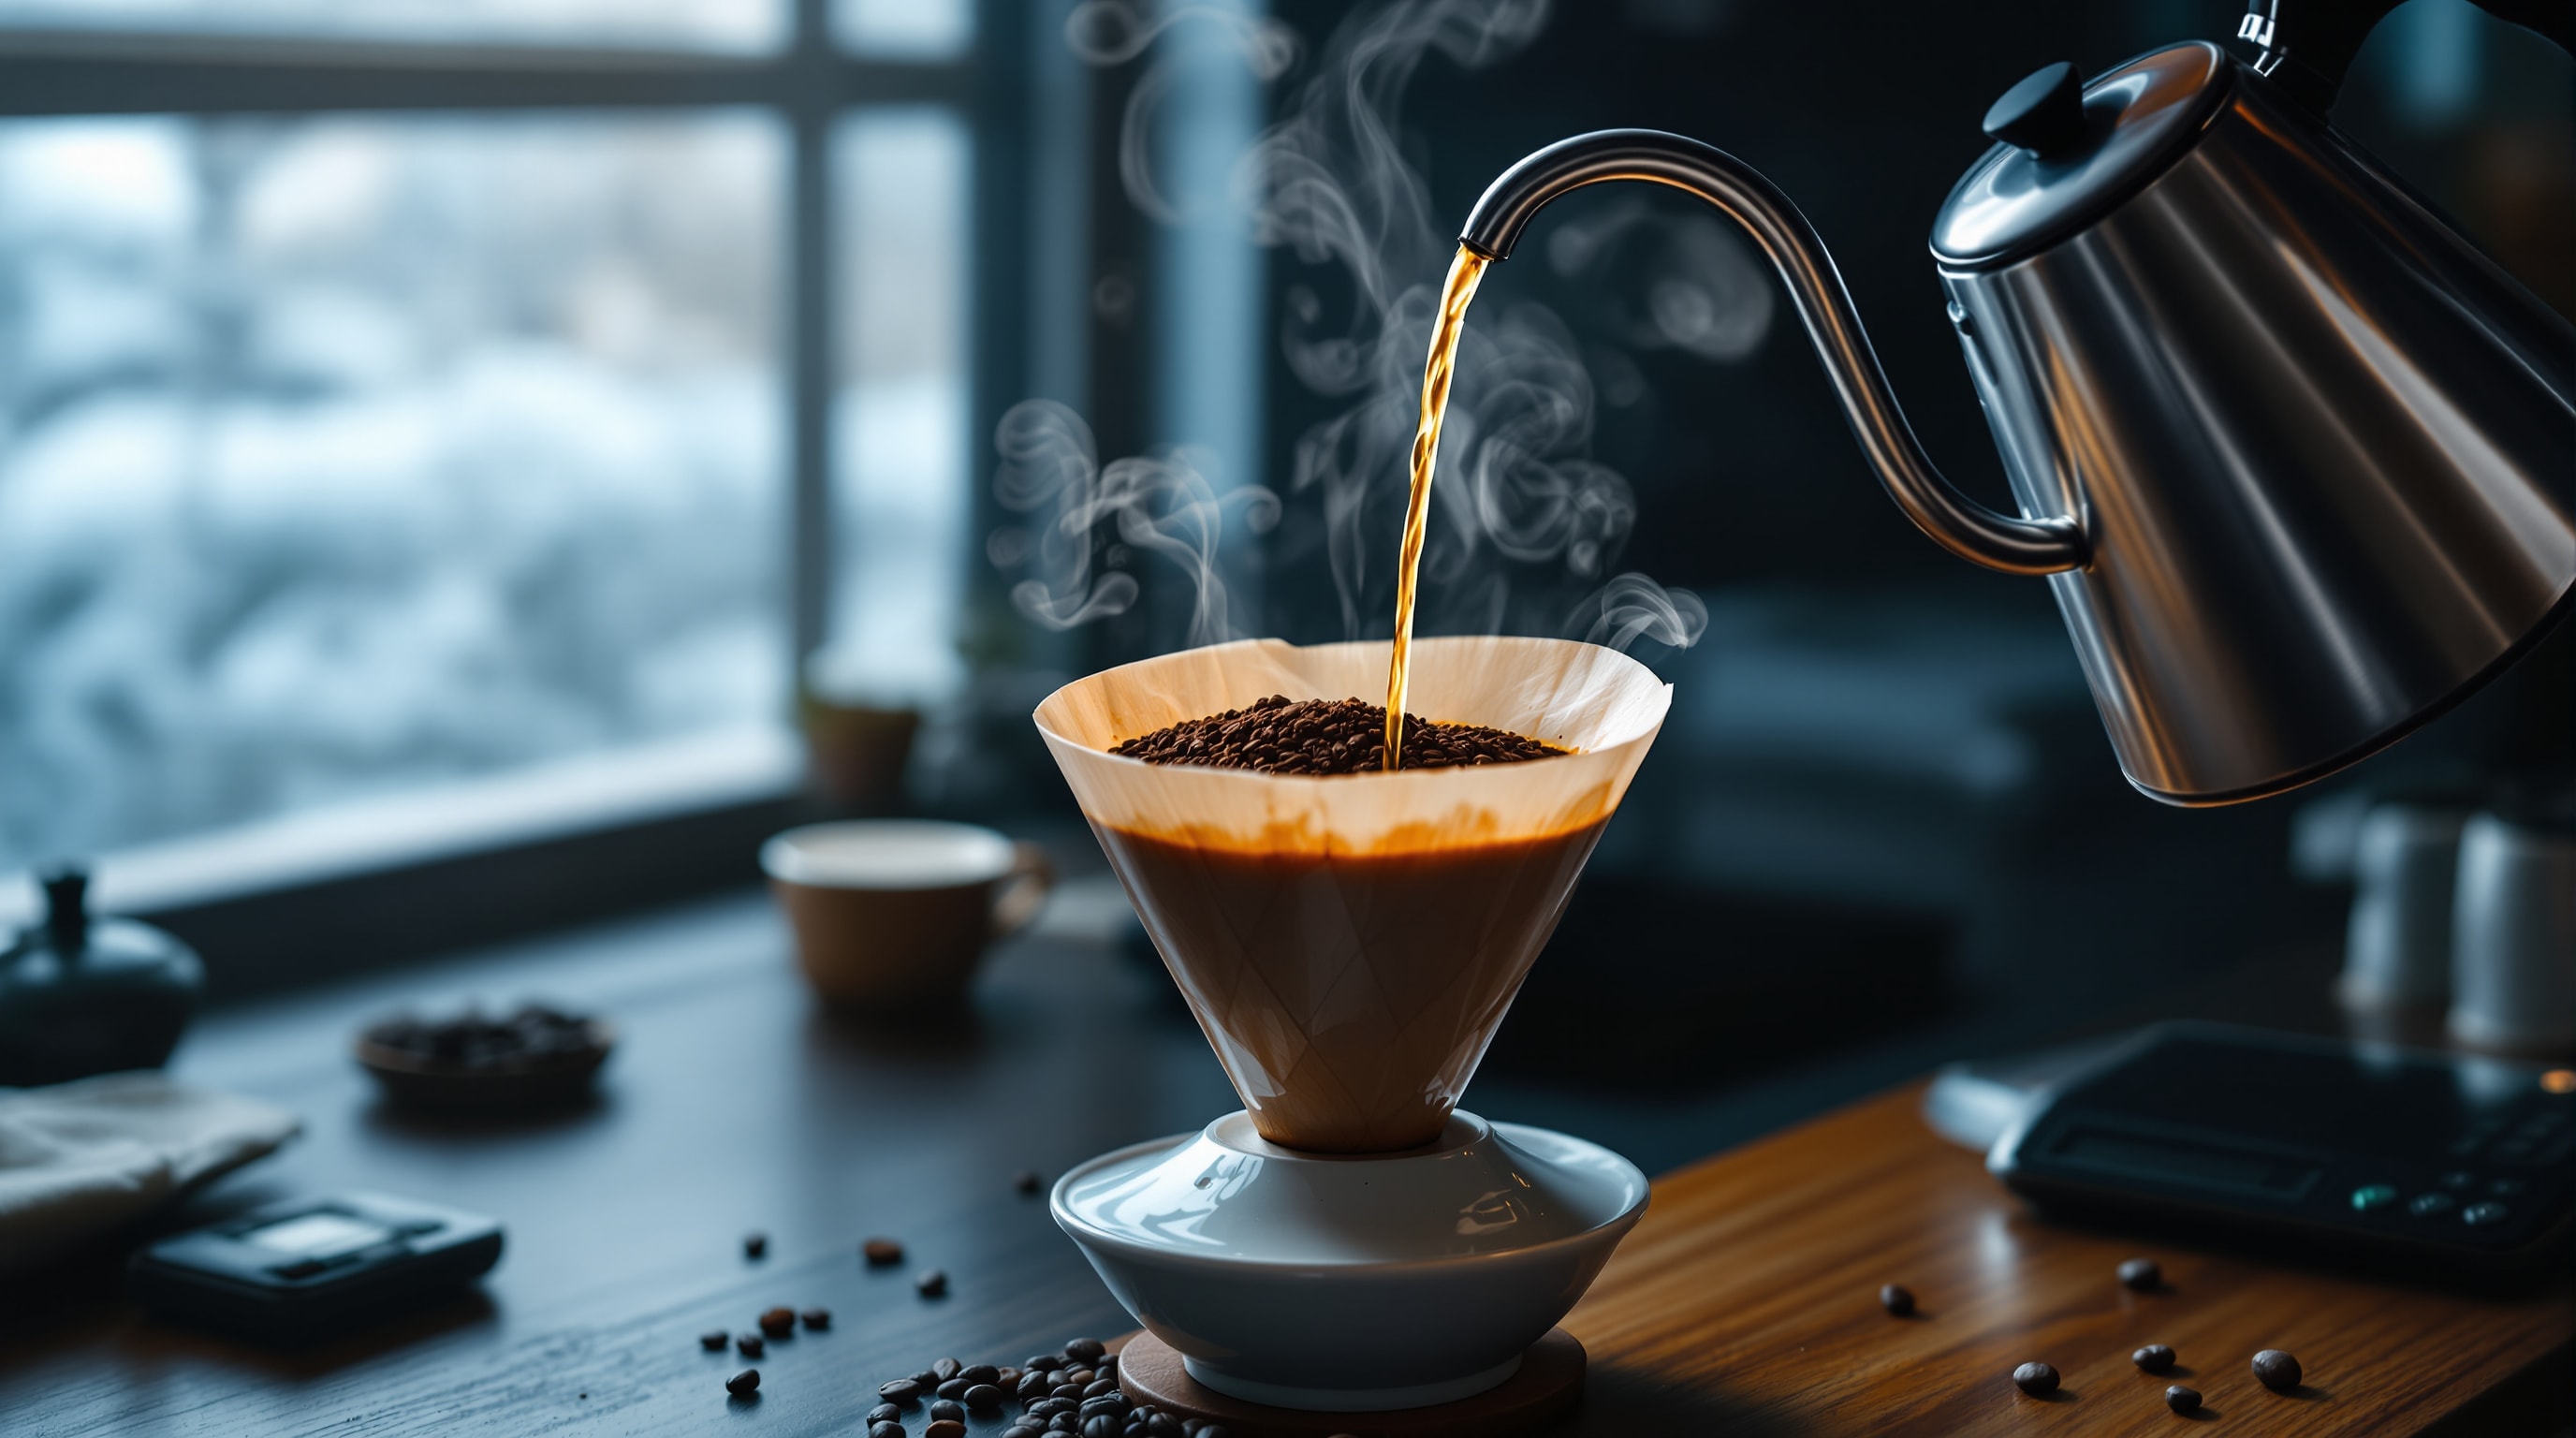
Move to elevation and your coffee gets worse before it gets better. The beans are the same, the grinder is the same, the recipe is the same, and the cup is thin and sour. Nothing is broken. The atmosphere changed, and the recipe was written for a different one. This page explains what actually changes and what to do about it.
The One Number That Drives Everything
Water boils when its vapour pressure equals the surrounding air pressure. Less air above you means less pressure to overcome, so water boils cooler. The rule of thumb is roughly two degrees Fahrenheit lower per thousand feet of elevation gain:
- Sea level — about 212°F
- 3,000 feet — about 206°F
- 5,300 feet — about 202°F
- 6,000 feet — about 199°F
- 8,700 feet — about 194°F
The Specialty Coffee Association's brewing standard puts the ideal contact temperature for filter coffee in a narrow band around 195–205°F. At 6,000 feet, water fresh off a rolling boil arrives at the low end of that band and drops fast. At Galena Summit, boiling water is already below the recommended range. You cannot heat it further — adding energy to boiling water makes steam, not hotter water. The temperature ceiling is fixed by the mountain.
What a Lower Temperature Does to the Cup
Extraction is a set of chemical reactions, and like most reactions they run slower when it is cooler. Coffee's soluble compounds do not all dissolve at the same rate, and they do not taste the same:
- Acids come out first — bright, sour, sharp.
- Sugars and caramels follow — sweetness, body, balance. This is where you want to stop.
- Bitter compounds come last — dry, harsh, ashy.
Cooler water slows the whole sequence, which means at a fixed brew time you land further toward step one than you meant to. That is why the classic altitude fault is sourness, thin body and a short finish — classic under-extraction, arriving even though you changed nothing.
The Four Levers
You cannot raise the temperature ceiling, so you compensate with everything else. In order of effectiveness:
1. Grind finer
The single most powerful adjustment. A finer grind means more surface area and shorter internal diffusion distances, so more is extracted in the same time at the same temperature. Go one or two notches finer than your sea-level setting and taste. This alone fixes most cases.
2. Extend contact time
Longer immersion, a slower pour, a coarser-but-longer French press steep. For filter brewing, pushing a four-minute brew to five is a legitimate altitude adjustment rather than a mistake.
3. Preheat aggressively
You have less thermal headroom than you are used to, so every degree lost to cold equipment matters more. Rinse the filter with hot water, preheat the carafe and the mug, and do not brew into a cold vessel. In a cold, dry mountain room this is worth several degrees.
4. Adjust the ratio
Slightly more coffee per unit of water — moving from roughly 1:17 toward 1:15 — raises strength and can compensate for a mild extraction shortfall. Use this last: it treats the symptom rather than the cause, and overdone it just makes strong sour coffee.
Espresso Specifically
Espresso is the hardest case, because an espresso machine boiler is a pressurised vessel and its water is not free to boil at ambient pressure. The machine still delivers water near its set point, so the temperature problem is much smaller than for filter brewing. What changes instead is everything around it:
- Grind retention and static get worse in very dry mountain air. Expect more clumping and more mess, and consider a spritz of water on the beans before grinding.
- Crema is thinner and dissipates faster. Crema is a foam of dissolved carbon dioxide; less ambient pressure means the gas comes out of solution more eagerly and the foam collapses sooner. A thin, fast-fading crema at altitude is not necessarily a stale-bean problem.
- Beans degas faster. Freshly roasted coffee holds a lot of carbon dioxide, and it escapes faster at lower pressure. Rest times that work at sea level may be a day or two long up here, and the useful window before the coffee goes flat is shorter.
- Milk steams faster and scalds sooner. Steam expands more freely, so the wand delivers more mechanical energy per second. Texture the milk with a shallower initial stretch and pull the pitcher earlier than you would at sea level.
Water, Which Nobody Thinks About
Coffee is more than 98 per cent water, and mountain municipal water is frequently very hard — snowmelt filtered through limestone and volcanic rock picks up a lot of calcium and magnesium. Hardness is not automatically bad. Magnesium in particular helps extract flavour compounds, and water that is too soft produces flat, hollow coffee.
What hardness does do is destroy equipment. Scale accumulates in boilers and heating elements, and at the mineral levels common in the mountain West it does so quickly. Descale on a schedule rather than when something breaks. The Environmental Protection Agency's drinking water information is the right place to start on what is in your supply, and the Specialty Coffee Association publishes the water standard that specialty roasters actually target.
A Practical Starting Recipe
For pour-over filter coffee at roughly 6,000 feet, as a starting point to adjust from:
- Ratio around 1:16 — say 22 g of coffee to 350 g of water
- Grind one to two notches finer than your sea-level setting
- Water straight off the boil, poured immediately, into preheated equipment
- A 45-second bloom with about twice the coffee's weight in water
- Total brew time of 3:45 to 4:30
Taste, then change exactly one thing. Sour and thin means grind finer. Bitter and drying means grind coarser. Correct but weak means more coffee, not more time.
For how roast level interacts with all of this — and why the mountain West's traditional preference for darker roasts is partly a rational response to thin air — see Roasts & Origins. For what happens on the other side of the counter, see the field guide to the board.